Creating your own sugar wax at home is an excellent way to save money while achieving smooth, salon-quality results. If you're looking to explore this DIY beauty trend, you're in the right place. This article will provide step-by-step instructions, tips, and tricks to help you master the art of homemade sugar wax.
Sugar waxing has become increasingly popular due to its natural ingredients and gentle formula, making it a great alternative to traditional waxing methods. Whether you're a beginner or have some experience with hair removal techniques, learning how to make sugar wax can be both fun and rewarding.
In this guide, we'll cover everything from the basic ingredients and tools you'll need to advanced techniques for perfecting your sugar wax. Let's dive in and discover how easy it is to create your own sugar wax at home!
Read also:Low Taper Fade With Textured Fringe The Ultimate Guide For A Modern Hairstyle
Table of Contents
- Introduction to Sugar Wax
- Benefits of Sugar Wax
- Ingredients and Tools You'll Need
- Step-by-Step Guide to Making Sugar Wax
- How to Apply Sugar Wax
- Tips for Perfect Results
- Common Questions About Sugar Wax
- Sugar Wax Variations
- Safety Precautions
- Conclusion
Introduction to Sugar Wax
Sugar waxing is a natural hair removal method that has been practiced for centuries, particularly in Middle Eastern countries. It involves using a paste made from sugar, lemon, and water to remove hair from the root. The process is similar to traditional waxing but is often considered less irritating and more affordable.
Sugar wax is ideal for individuals with sensitive skin because it only adheres to the hair and not the skin. This reduces the risk of burns and skin irritation. Additionally, sugar wax can be made at home using simple ingredients, making it a cost-effective solution for hair removal.
Benefits of Sugar Wax
There are numerous benefits to using sugar wax for hair removal:
- Natural Ingredients: Sugar wax is made from natural, non-toxic ingredients, reducing the risk of allergic reactions.
- Cost-Effective: Making sugar wax at home is significantly cheaper than buying commercial wax or visiting a salon.
- Environmentally Friendly: Since sugar wax is biodegradable, it's an eco-friendly alternative to synthetic wax strips.
- Long-Lasting Results: Sugar waxing removes hair from the root, resulting in smoother skin that lasts longer than shaving.
Ingredients and Tools You'll Need
Ingredients
To make sugar wax at home, you'll need the following ingredients:
- 2 cups of granulated sugar
- 1/4 cup of lemon juice
- 1/4 cup of water
Tools
Here are the tools you'll need to prepare and apply the sugar wax:
- A saucepan
- A wooden spoon or spatula
- A microwave-safe bowl (optional)
- Cotton strips or muslin cloths
- Cornstarch or baby powder (for prepping the skin)
Step-by-Step Guide to Making Sugar Wax
Follow these simple steps to create your own sugar wax at home:
Read also:Cassandra Summer Height Discover The Facts And Figures About This Iconic Personality
- Combine Ingredients: In a saucepan, mix 2 cups of sugar, 1/4 cup of lemon juice, and 1/4 cup of water.
- Heat the Mixture: Place the saucepan over medium heat and stir continuously until the sugar dissolves completely.
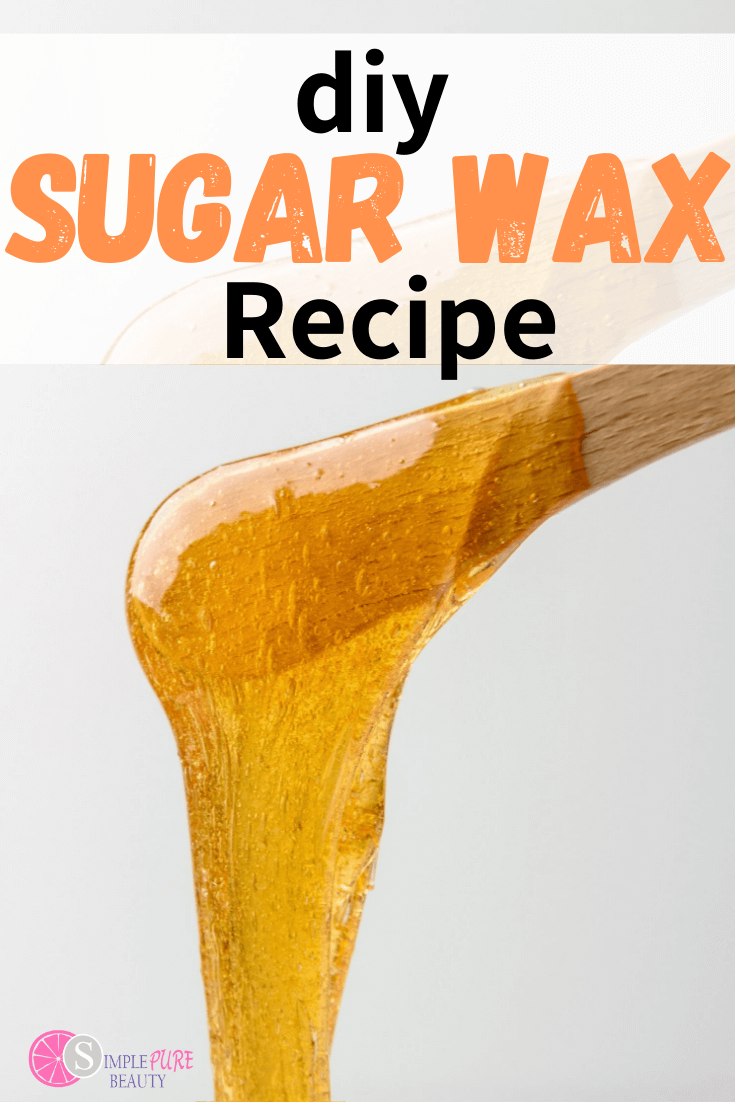
- Simmer: Once the sugar has dissolved, reduce the heat to low and let the mixture simmer for 10-15 minutes. The sugar wax should turn a light amber color.
- Cool Down: Remove the saucepan from the heat and let the sugar wax cool for a few minutes. It should be warm but not hot enough to burn your skin.
- Test the Consistency: Before applying the sugar wax, test its consistency by rolling a small amount between your fingers. It should feel sticky but not too runny.
How to Apply Sugar Wax
Prepping Your Skin
Before applying sugar wax, make sure to:
- Clean the area you plan to wax with mild soap and water.
- Exfoliate the skin to remove dead skin cells and prevent ingrown hairs.
- Dust the area lightly with cornstarch or baby powder to absorb excess moisture.
Application Process
Here’s how to apply sugar wax:
- Apply a small amount of sugar wax in the direction of hair growth using your fingers or a spatula.
- Place a cotton strip or muslin cloth over the waxed area.
- Press the strip firmly onto the skin to ensure it adheres properly.
- Pull the strip off quickly in the opposite direction of hair growth.
Tips for Perfect Results
Here are some tips to ensure your sugar waxing experience is successful:
- Always test the temperature of the sugar wax on a small area of your skin before applying it.
- Work in small sections to avoid wasting the wax and ensure even application.
- Moisturize the area after waxing with a natural oil, such as coconut or almond oil, to soothe the skin.
- Store leftover sugar wax in an airtight container in the refrigerator for future use.
Common Questions About Sugar Wax
How Long Does Sugar Wax Last?
Sugar wax results typically last 3-6 weeks, depending on your hair growth cycle and skin type. Regular waxing can slow down hair regrowth over time.
Can Sugar Wax Be Used on Sensitive Skin?
Yes, sugar wax is gentle enough for sensitive skin because it doesn't contain harsh chemicals. However, it's always a good idea to do a patch test before waxing larger areas.
Sugar Wax Variations
Adding Essential Oils
For a more luxurious experience, you can add a few drops of essential oils to your sugar wax. Lavender or chamomile oil can help soothe the skin, while peppermint oil provides a cooling sensation.
Using Honey
Some people prefer to add honey to their sugar wax recipe for its antibacterial and moisturizing properties. Simply replace 1/4 cup of water with honey in the recipe.
Safety Precautions
While sugar waxing is generally safe, there are a few precautions you should take:
- Never microwave the sugar wax, as it can heat unevenly and cause burns.
- Avoid waxing sensitive areas, such as the face or private parts, if you're a beginner.
- If you experience any irritation or allergic reactions, stop using the sugar wax immediately and consult a dermatologist.
Conclusion
Learning how to make sugar wax is a valuable skill that can save you time and money while providing professional-quality results. By following the steps outlined in this guide, you can create your own sugar wax at home and enjoy smooth, hair-free skin for weeks.
Remember to prep your skin properly, test the wax's temperature, and follow safety precautions to ensure a successful waxing experience. We encourage you to share your results and experiences in the comments section below. Don't forget to explore our other articles for more beauty tips and tricks!
Happy waxing!