Remote access to IoT devices through a Virtual Private Cloud (VPC) has become a pivotal skill for modern tech enthusiasts and professionals alike. Whether you're managing servers, deploying applications, or configuring Raspberry Pi devices, understanding how to set up and manage VPC SSH connections is essential. This guide will walk you through the process of setting up a RemoteIoT VPC SSH Raspberry Pi connection, specifically tailored for Windows 10 users.
In today's interconnected world, remote management of IoT devices is not just a convenience—it's a necessity. Whether you're a developer, network administrator, or hobbyist, knowing how to secure your devices through SSH tunnels and VPC configurations ensures that your data remains protected while allowing seamless access. This guide will delve into the step-by-step process of downloading and configuring everything you need to connect to your Raspberry Pi securely.
With the growing popularity of Raspberry Pi and IoT projects, the demand for secure remote access has skyrocketed. This article will explore the intricacies of setting up VPC SSH connections, provide practical tips, and address common challenges faced by users. By the end of this guide, you'll have the knowledge and tools to manage your Raspberry Pi remotely from your Windows 10 machine confidently.
Read also:Bop Meaning Tiktok Unveiling The Trending Buzzword In Social Media
Table of Contents
- Introduction to RemoteIoT VPC SSH Raspberry Pi
- What is VPC and Why Use It?
- Understanding Raspberry Pi
- The Basics of SSH
- Setting Up Your Windows 10 Environment
- Configuring Raspberry Pi for Remote Access
- Setting Up VPC SSH
- Enhancing Security for Your RemoteIoT Setup
- Troubleshooting Common Issues
- Conclusion and Next Steps
Introduction to RemoteIoT VPC SSH Raspberry Pi
RemoteIoT VPC SSH Raspberry Pi is a powerful combination of technologies designed to facilitate secure remote access to IoT devices. By leveraging Virtual Private Clouds (VPCs) and Secure Shell (SSH), users can connect to their Raspberry Pi devices from anywhere in the world while maintaining high levels of security. This section will introduce the key concepts and benefits of this setup.
Remote access allows users to manage their IoT devices without physical presence, saving time and resources. Whether you're configuring a home automation system or deploying an industrial IoT solution, understanding how to set up VPC SSH connections is crucial. This guide will provide a comprehensive overview of the tools and steps required to achieve this.
What is VPC and Why Use It?
A Virtual Private Cloud (VPC) is a logically isolated section of a cloud environment that provides secure and controlled access to resources. VPCs are widely used in enterprise environments to segment networks and protect sensitive data. By integrating VPC with SSH for Raspberry Pi, users can create a secure tunnel for remote access.
Benefits of Using VPC
- Enhanced security through network segmentation
- Controlled access to resources
- Scalability for growing IoT projects
- Compatibility with cloud-based services
Using VPC ensures that your Raspberry Pi remains isolated from public networks, reducing the risk of unauthorized access. This is particularly important for projects involving sensitive data or critical infrastructure.
Understanding Raspberry Pi
Raspberry Pi is a compact, affordable single-board computer designed for a wide range of applications, from educational projects to industrial automation. Its versatility and ease of use make it a popular choice for IoT enthusiasts and professionals alike.
Key Features of Raspberry Pi
- Low power consumption
- Support for multiple operating systems
- Extensive community support and resources
- Compatibility with a wide range of sensors and peripherals
Raspberry Pi's ability to connect to the internet and communicate with other devices makes it an ideal platform for IoT projects. By combining it with VPC SSH, users can unlock its full potential for remote management.
Read also:Cherie Deville The Ultimate Step Mom Guide You Need To Read
The Basics of SSH
Secure Shell (SSH) is a network protocol that provides encrypted communication between devices. It is widely used for secure remote access to servers and IoT devices. Understanding the basics of SSH is essential for setting up a RemoteIoT VPC SSH Raspberry Pi connection.
Key Components of SSH
- SSH client: Software used to initiate connections
- SSH server: Software running on the target device to accept connections
- Encryption: Ensures data transmitted between devices remains secure
SSH is the backbone of secure remote access, providing a reliable and encrypted channel for managing devices over the internet. This guide will cover the steps required to configure SSH on both your Raspberry Pi and Windows 10 machine.
Setting Up Your Windows 10 Environment
Before setting up your Raspberry Pi for remote access, ensure that your Windows 10 environment is properly configured. This includes installing necessary software and setting up network configurations.
Steps to Prepare Your Windows 10 Machine
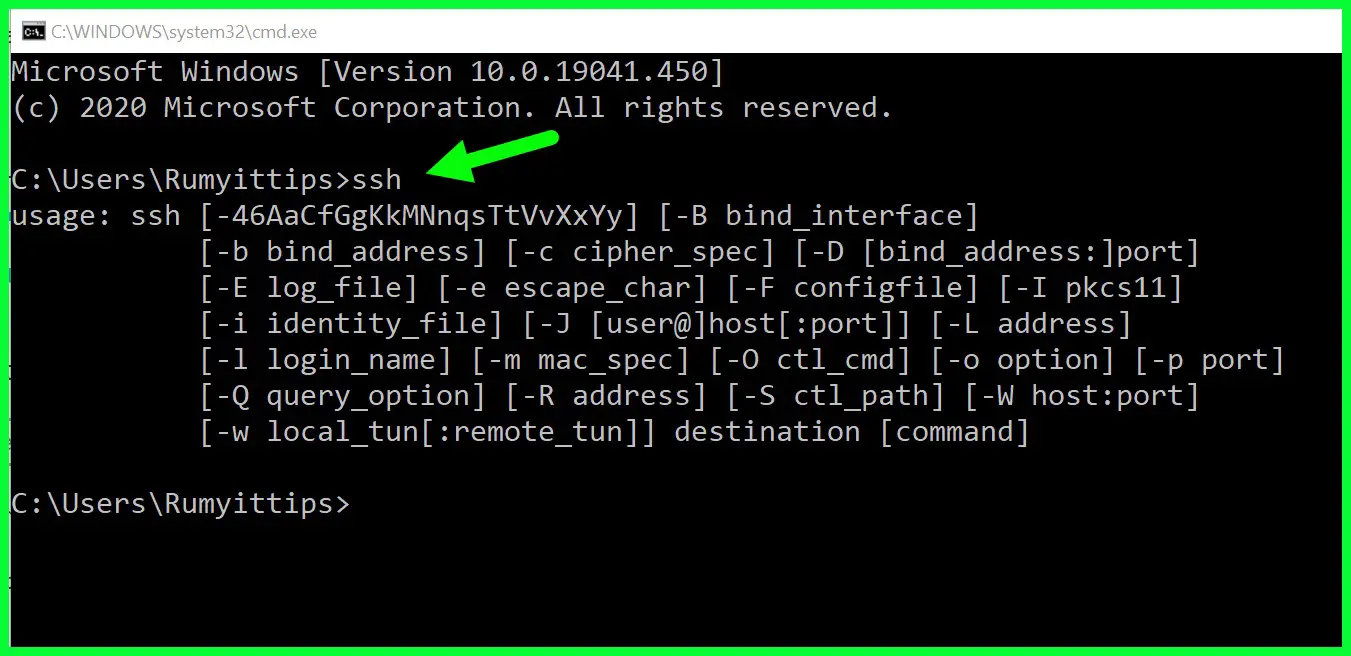
- Install an SSH client such as PuTTY or OpenSSH
- Configure firewall settings to allow SSH connections
- Verify network connectivity and IP address settings
Having a well-prepared Windows 10 environment is crucial for successful remote access. Ensure that all necessary tools and configurations are in place before proceeding to the next steps.
Configuring Raspberry Pi for Remote Access
Configuring your Raspberry Pi for remote access involves several steps, including enabling SSH, setting up a static IP address, and securing your device. This section will walk you through each step in detail.
Enabling SSH on Raspberry Pi
- Access the Raspberry Pi Configuration tool
- Navigate to the Interfaces tab
- Select "Enable" for SSH
Once SSH is enabled, your Raspberry Pi will be ready to accept remote connections. Ensure that you test the connection locally before moving to VPC SSH configurations.
Setting Up VPC SSH
Setting up VPC SSH involves integrating your Raspberry Pi with a cloud-based VPC environment. This process ensures that your device remains secure while allowing remote access. Follow these steps to configure VPC SSH:
Steps to Set Up VPC SSH
- Create a VPC in your preferred cloud provider
- Configure security groups to allow SSH traffic
- Assign a public IP address to your Raspberry Pi
By following these steps, you can create a secure and reliable connection between your Windows 10 machine and Raspberry Pi through VPC SSH.
Enhancing Security for Your RemoteIoT Setup
Security is paramount when setting up remote access to IoT devices. Follow these tips to enhance the security of your RemoteIoT VPC SSH Raspberry Pi setup:
- Use strong, unique passwords for SSH access
- Implement two-factor authentication (2FA)
- Regularly update your Raspberry Pi's operating system and software
- Monitor connection logs for suspicious activity
By prioritizing security, you can protect your devices and data from potential threats.
Troubleshooting Common Issues
Even with careful setup, issues may arise when configuring RemoteIoT VPC SSH Raspberry Pi. This section will address common problems and provide solutions:
Common Issues and Solutions
- Connection Refused: Verify SSH is enabled and firewall settings are correct
- Authentication Failed: Ensure correct credentials and key pairs are used
- Network Connectivity Issues: Check IP configurations and VPC settings
Troubleshooting effectively requires a systematic approach. Use the tips provided to resolve issues quickly and efficiently.
Conclusion and Next Steps
In conclusion, mastering RemoteIoT VPC SSH Raspberry Pi is a valuable skill for anyone involved in IoT projects. By following the steps outlined in this guide, you can set up a secure and reliable remote access system for your Raspberry Pi devices. Remember to prioritize security and regularly update your configurations to maintain optimal performance.
We encourage you to leave comments, share this article, and explore other resources on our site. Your feedback and engagement help us improve and provide even better content. Happy tinkering and stay secure!